
Set Up And Use An Apple AirTag
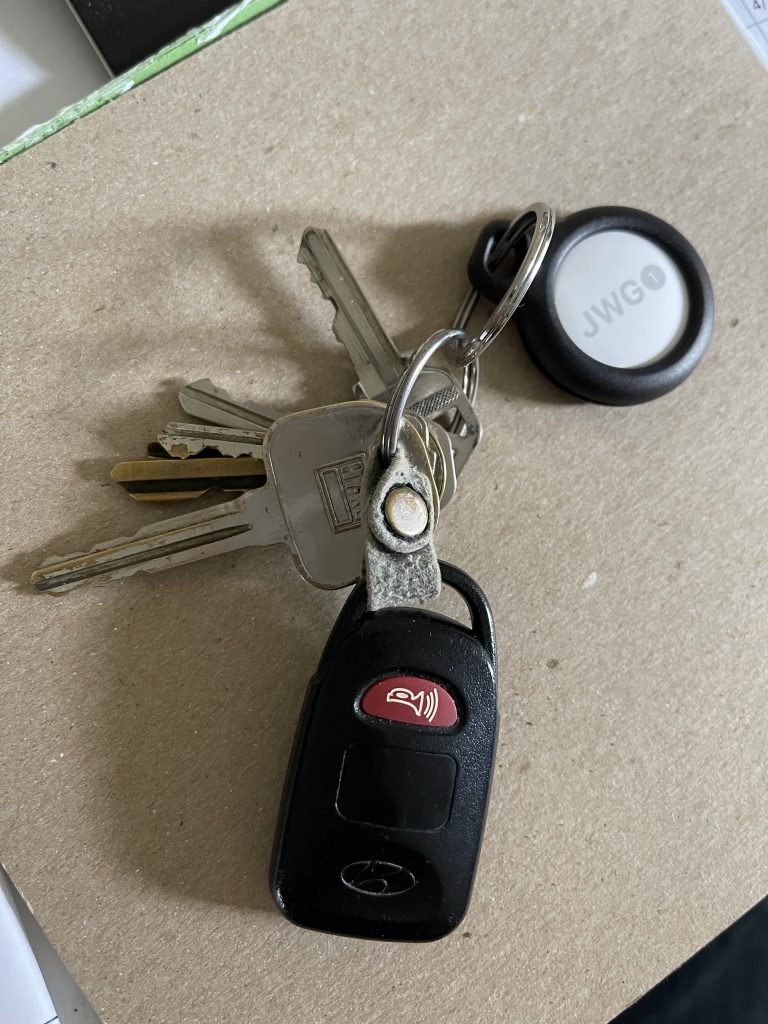
The image above shows one set of my keys with an Apple AirTag attached. In this post, I’ll explain what an AirTag is, how to set it up and then how to use it.
What Is An AirTag?
Apple AirTags are small tracking tiles that use Bluetooth to help you find lost items. While Apple’s product is new to the market, the idea behind it isn’t. There are a number of companies that have similar products. These competing devices include Tile, Samsung SmartTags and Chipolo Range. Just like the other companies, Apple offers accessories (like my keyring case above) for attaching the tiles onto the item you want to be able to track.
Set Up An AirTag
You can use your iPhone, your iPad or your iPod Touch to set up your AirTags. However, there are some criteria that must be met or your set up will fail. Here is a direct quote from Apple regarding what you need:
An iPhone, iPad, or iPod touch with iOS 14.5 or iPadOS 14.5 or later and two-factor authentication turned on.
Bluetooth turned on.
A strong Wi-Fi or cellular connection.
Location Services turned on: Go to Settings > Privacy > Location Services.
To be able to use Precision Finding and to see the most accurate location for your AirTag, turn on Location Access for Find My. Go to Settings > Privacy > Location Services, then scroll down and tap Find My. Check While Using the App or While Using the App or Widgets. Then turn on Precise Location.
Set up your AirTag using your iPhone, iPad, or iPod touch – Apple Support
If you are ready, then you can proceed with the setup.
- Remove the plastic covering from the AirTag.
- In most cases, if the AirTag is within Bluetooth range of your iPhone, iPad or iPod Touch, a screen will appear informing you that a new AirTag has been located. You are then given the opportunity to set it up. However, if that window doesn’t appear, go to step 3.
- Open the “Find My” app.
- At the bottom of the app, tap “Items.”
- Next, tap “Add Item.”
- On the new window, tap “Add AirTag.”
- When the new AirTag is found, tab “Connect.”
- Give the AirTag a name – select from the list or use “Custom Name.”
- Tap “Continue.”
- If an “Enable Additional AirTag Features…” window appears, choose “Use this…”
- Register your AirTag to your Apple account.
- Once setup completes, tap “Done.”
Using An Apple AirTag
Now that you have your AirTag set up, using it is easy. Let’s say you need to find the item to which you attached the tag. Just open the “Find My” app, click on “Items” if it’s not already selected, and your device will find the location of the AirTag. If it says it’s “With you” but you don’t see it, click the “Play Sound” option and the AirTag will make a noise so you can locate it. There’s an even better way if you’re using your iPhone,
Quoting from Apple Support:
Open the Find My app, then tap the Items tab.
Choose the AirTag you want to locate, then tap Find
.*
Follow the onscreen instructions and move around the space until your iPhone connects to your AirTag.
Your iPhone displays the distance and direction to your AirTag. Use that information to get closer to your AirTag until you find your lost item.
Tap the X button
Find your keys, wallet, and more with AirTag – Apple Supportwhen you’re done.
.Here’s a graphic to help you understand the process:

Set Up And Use An Apple AirTag Video
For those who like to see a video of a procedure, here you are:
Note: This site is reader-supported. When you buy through links on my site,
I may earn an affiliate commission at no extra cost to you. This is true whether you purchase something from this page or from our “Products We Recommend” page.
Am I correct in assuming that this only applies to Apple products?
Richard…these instructions are specifically for the Apple AirTag. However, the other companies that offer tracking devices set up in a similar manner. ~John