
In this post, I’m going to share how to use themes to customize your Windows 11 Desktop. At seminars and on YouTube (www.youtube.com/@4Keystone), people often comment about the interesting backgrounds I have on my computer. I’m often asked how I get them. Let’s find out!
Personalize
To begin our desktop changes, we need to get to “Personalize.” It’s pretty easy! On your desktop, in an area where there are no icons, right-click and a menu appears. Near the bottom, you’ll find Personalize.”
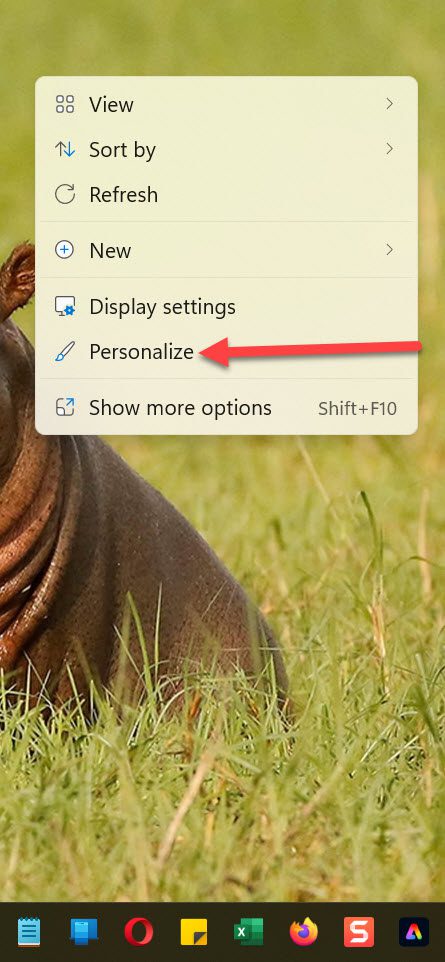
Left-click on it and the following window appears:
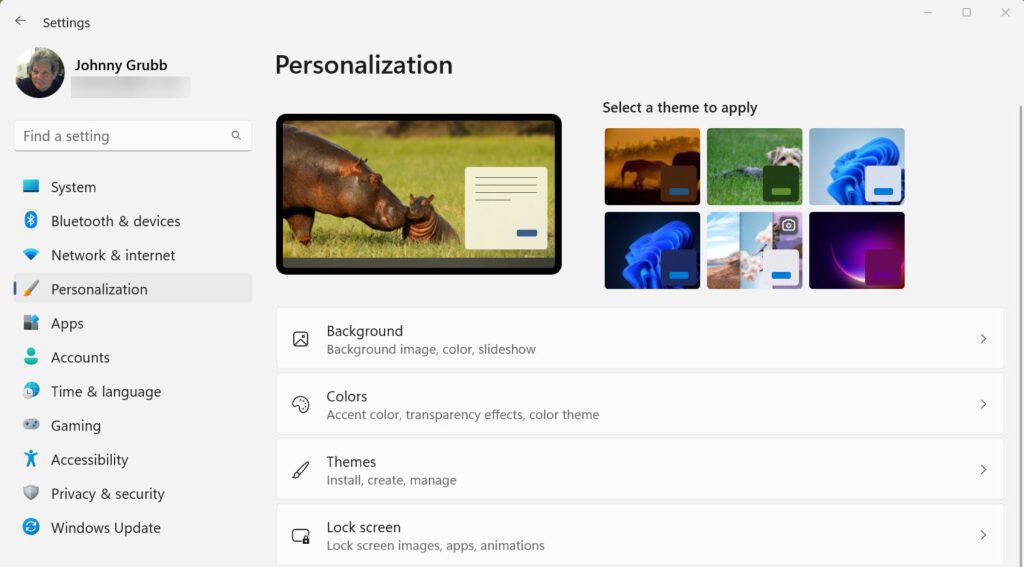
The first four areas on the right are the ones that we can explore in our efforts to customize our desktops. Although it’s third on the list, the focus of this post will be “Themes.”
Themes
This is my favorite area to play with when it comes to my desktop. When you click or tap Themes, you’ll get a window similar to this one:
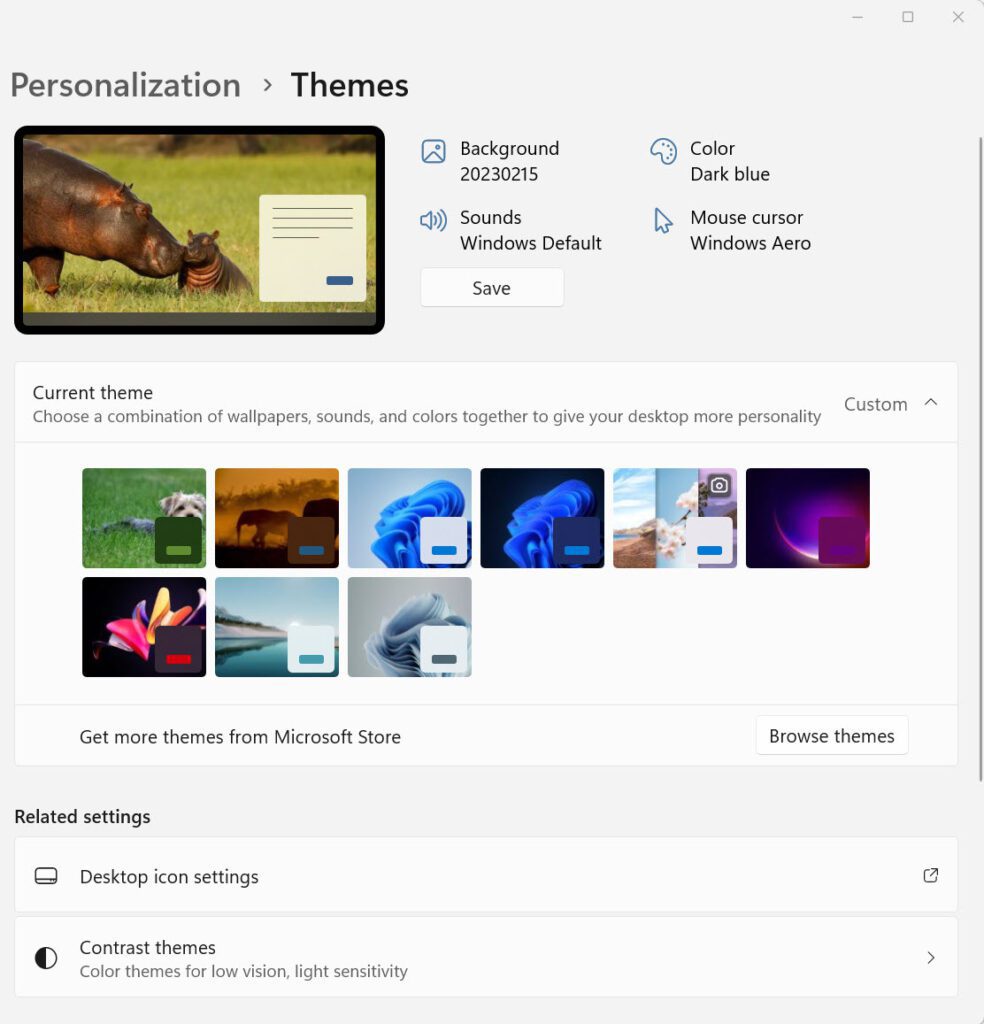
In the middle, you’ll find thumbnails of the themes already installed on your computer. There are themes that came with Windows and there will be ones you’ve added. You can change themes simply by clicking on one of the ones you already have. Or, if you’re feeling adventurous, you can click the “Browse themes” button and view new themes in the Microsoft Store. You’ll get a window like this one:
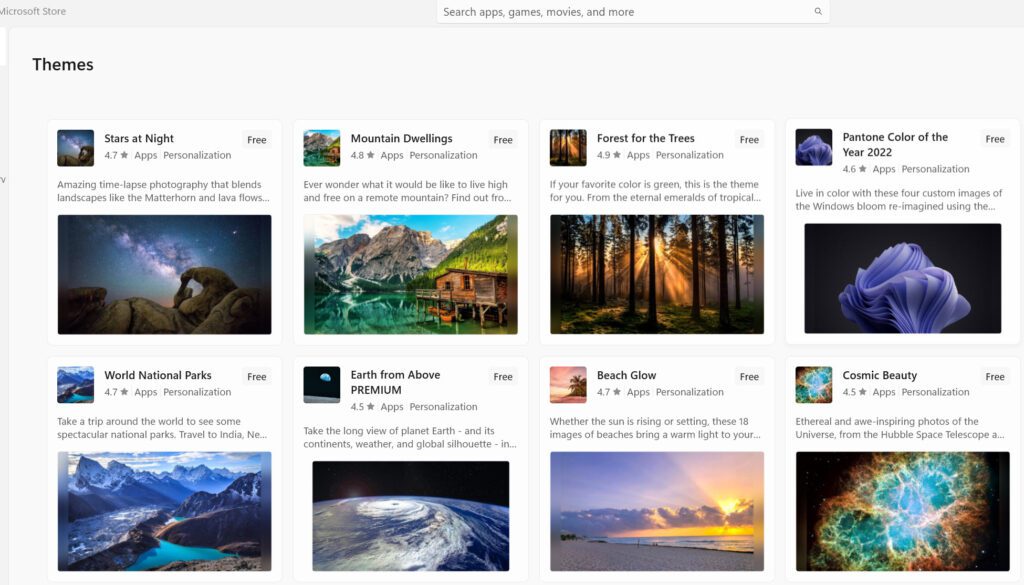
On the day of the writing of this post, there were 432 different themes available with the great majority of them being free of charge. There is almost certainly some theme that will reflect your mood or your favorite subject.
Once you find a theme you might kick, click on it and get all the facts!
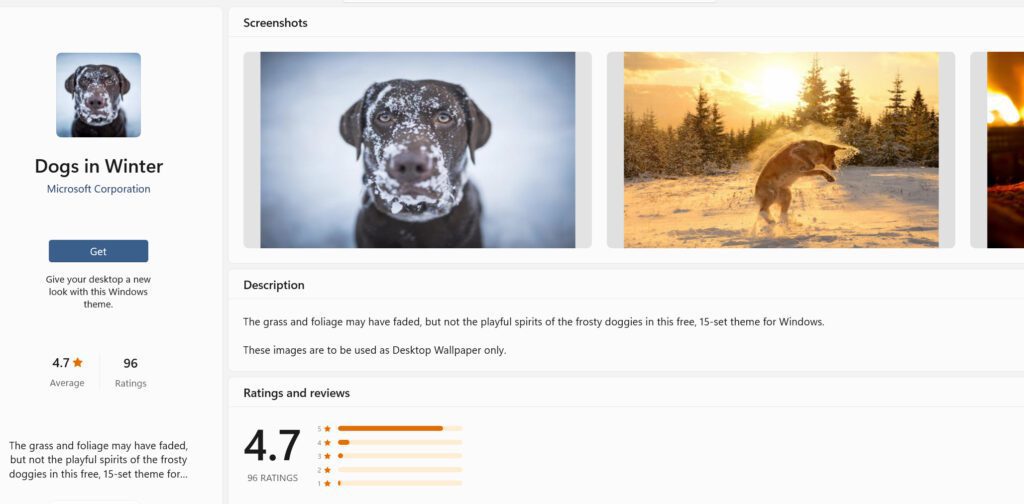
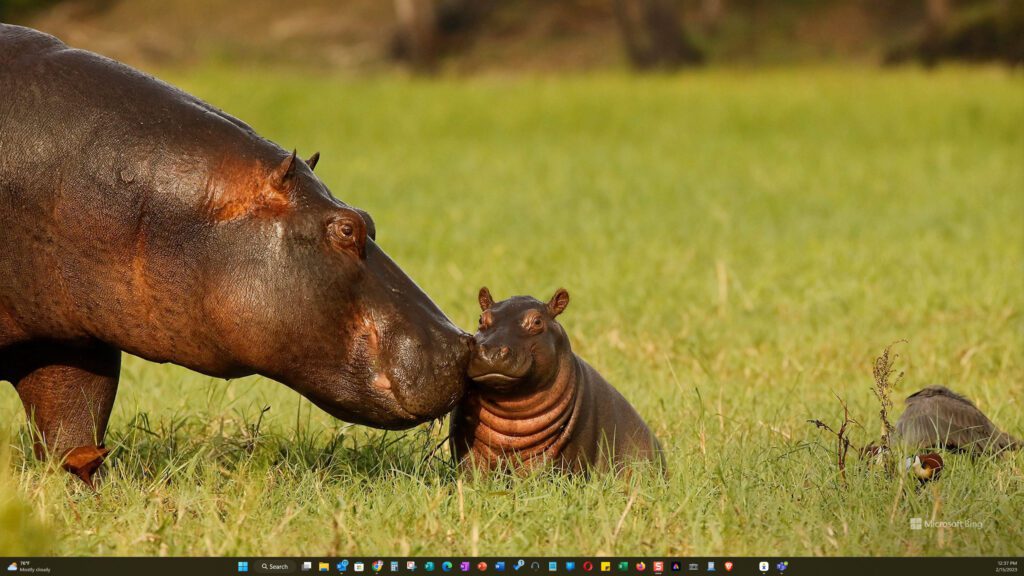
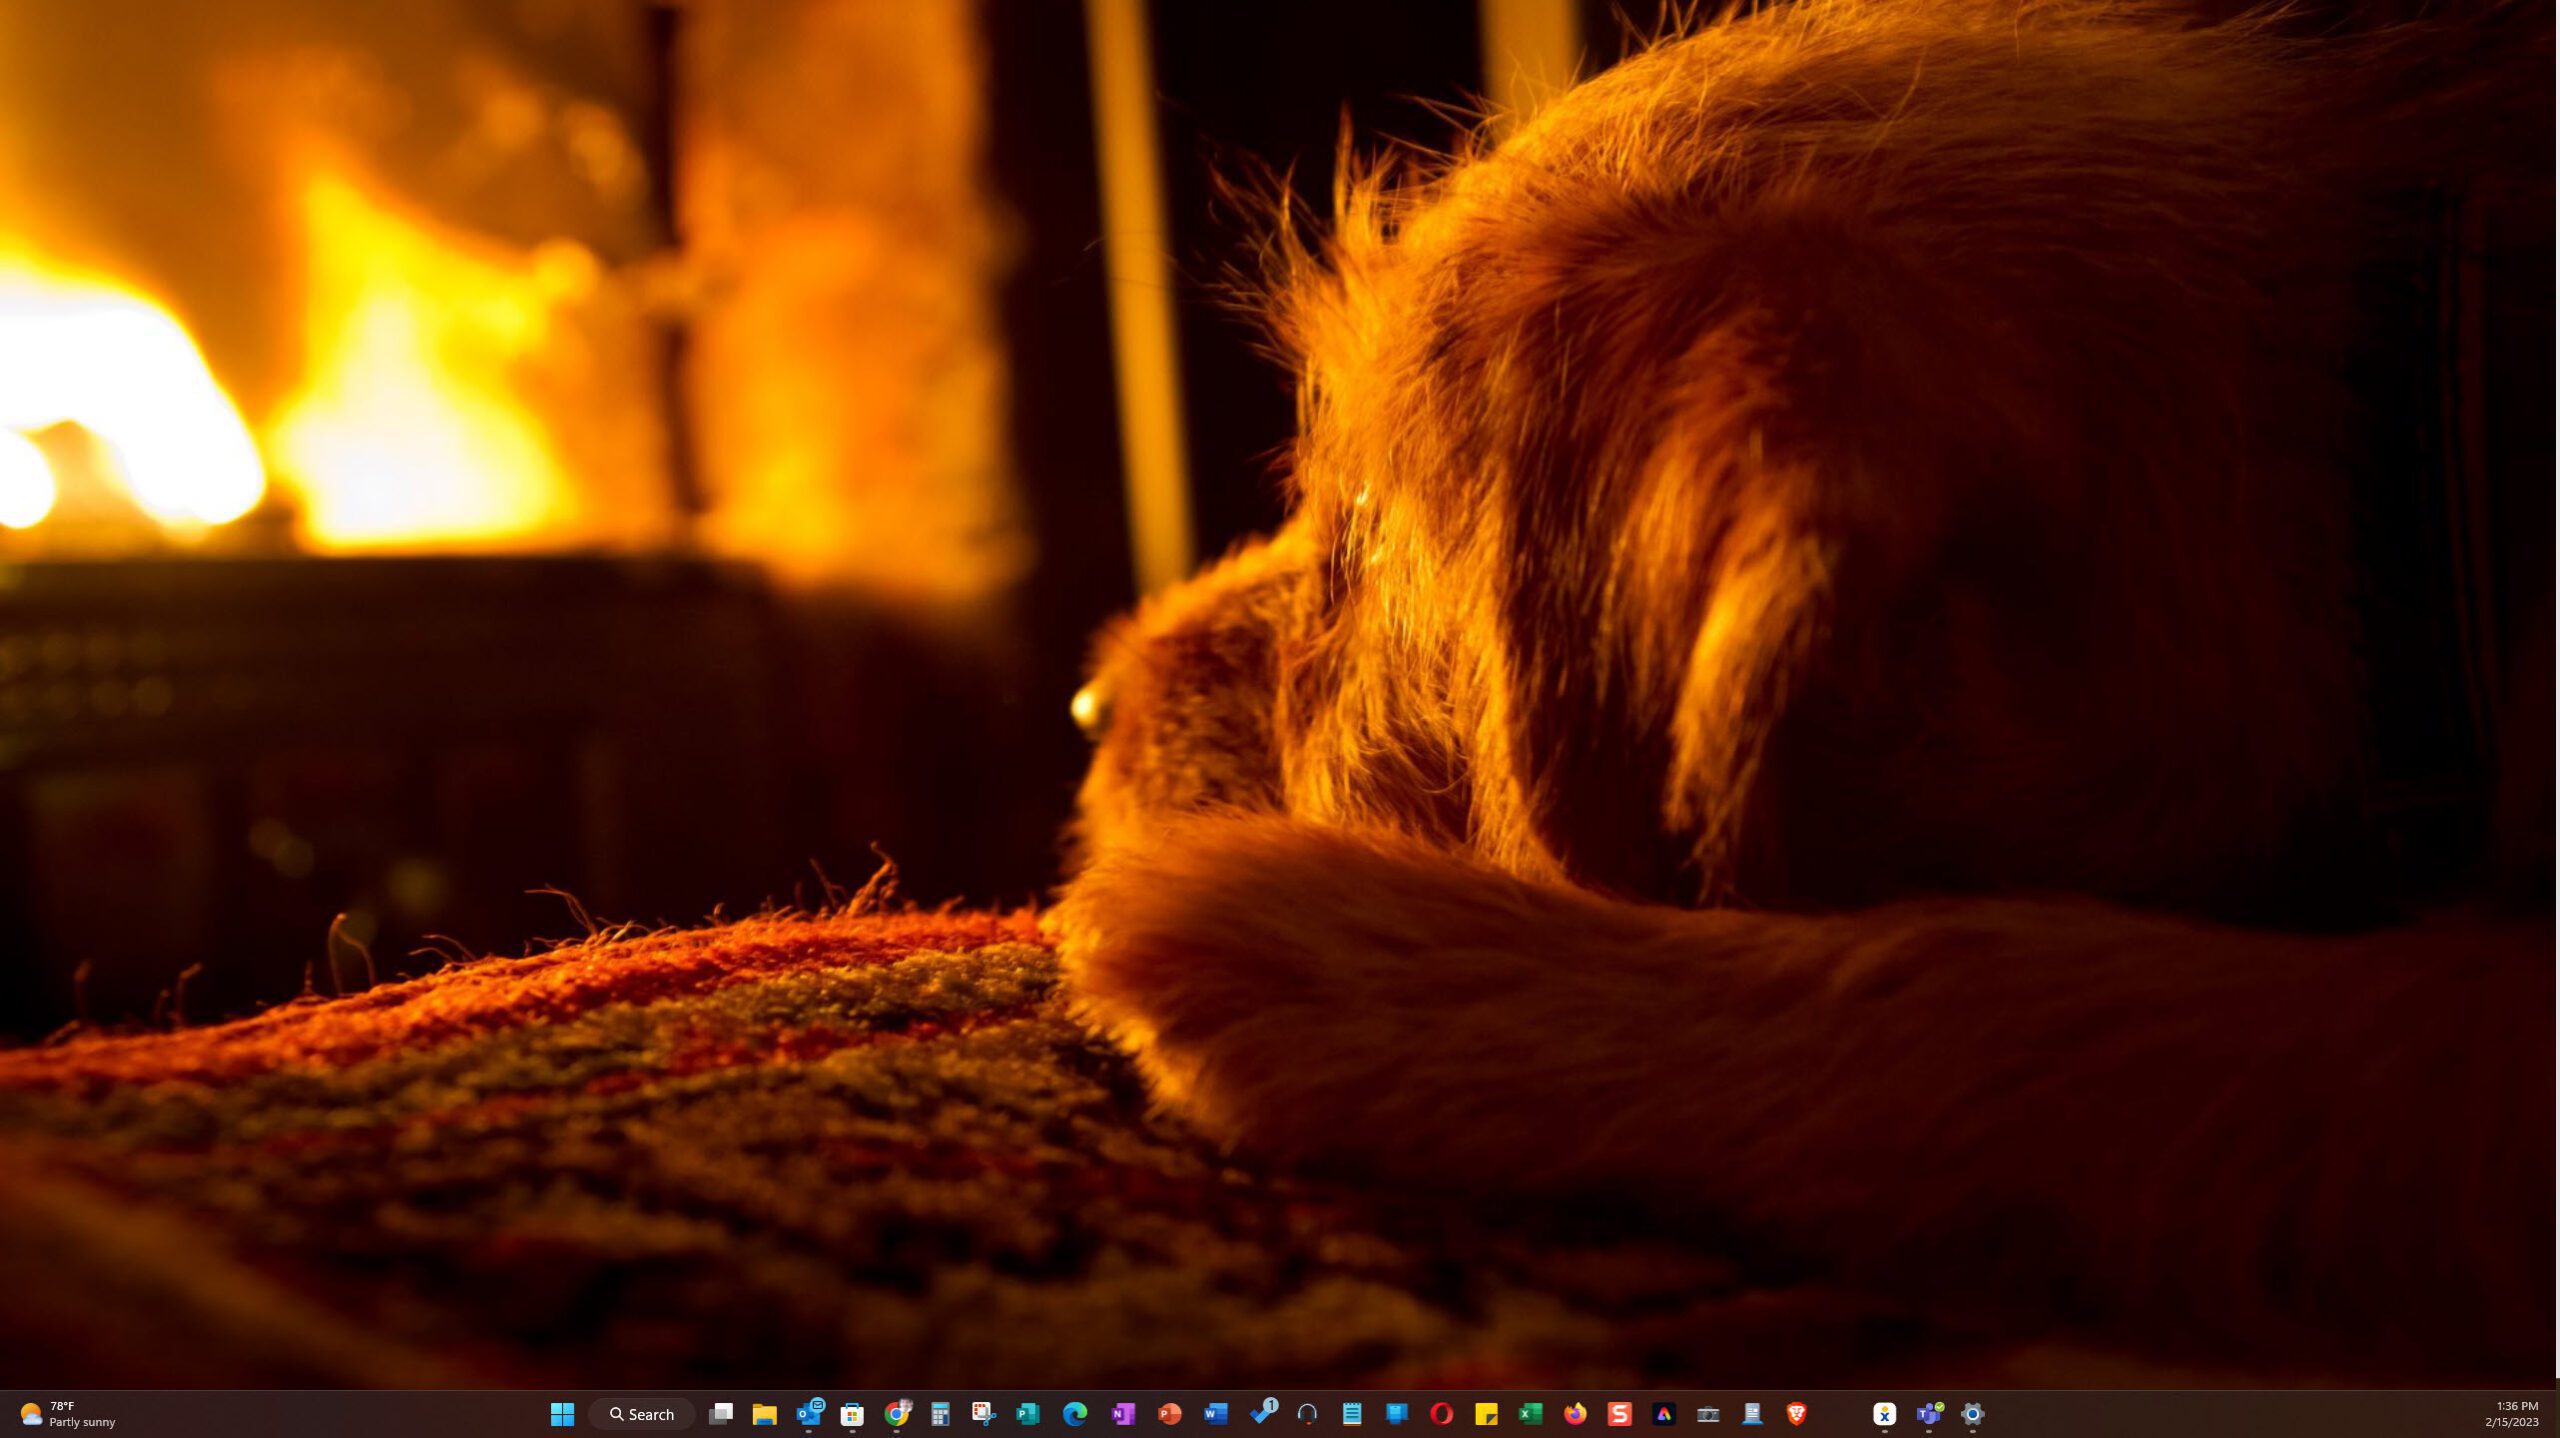
On the individual theme page, you’ll find the theme name, thumbnails of the pictures included, ratings, and a description. Like it? Just choose the “Get” button and the theme will download. Once done, tap or click “Open.” the window shown in picture #4 above will re-appear. Just tap on the new theme and it will open as your desktop background. On my computer, the background, instead of looking as it did in picture #1, now looks like this:
Control The Theme
Whether you use a built-in theme or you download a new one, there are some settings you need to know how to control. Going back to our themes as shown in picture #4, we want to change some settings. With the theme I just installed on my computer, the top of the window now looks like this:
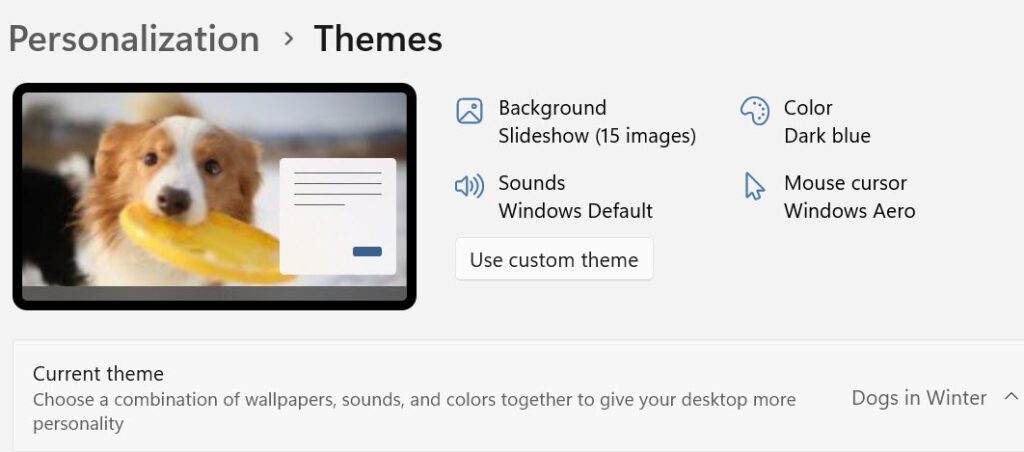
Tap where it reads “Background Slideshow.”
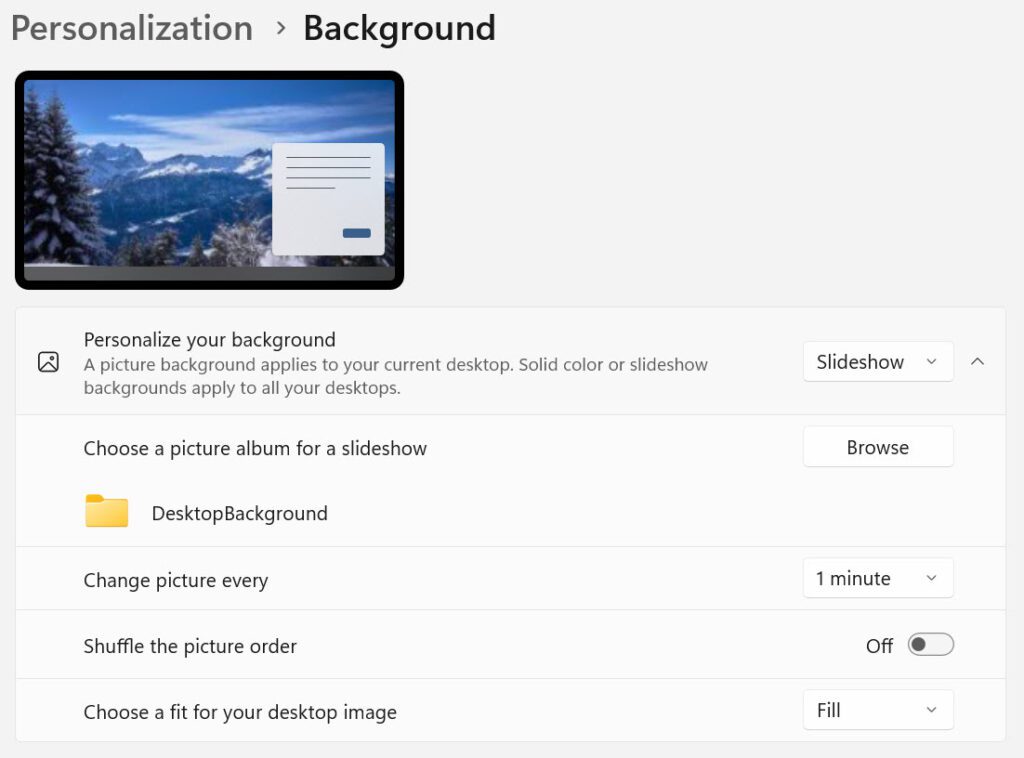
There are a number of settings you can play with but the bottom three are the ones that get my attention. How often do I want the pictures to change on the background? For many themes, the default is what you see in picture #9 – 1 minute. I don’t like them changing that often so I always click the drop-down menu and choose either 30 minutes or 1 hour.
I also might want to shuffle the pictures instead of always having them change in the same order. All we do there is turn the option on by sliding the dot to the right.
Finally, how do I want the picture to fit on my desktop? Where it reads “Fill” in picture #9, we find another drop-down menu.
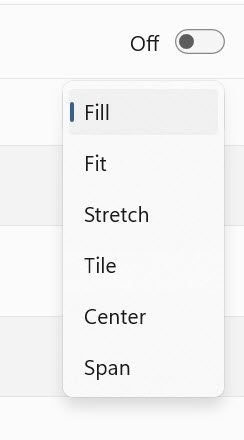
As for all the menu options, the best I can tell you is to try each of them and you’ll see the difference on your screen.
Customize Your Windows 11 Desktop – More Ways
Besides themes, there are other ways to customize your Windows 11 Desktop. We’ll look at some of those procedures in our next blog post.