
This is the second in a series in which we cover Gmail settings. As I said in Gmail Settings – Part 1, I know everyone doesn’t use Gmail so you might be skipping this post. But, for those of you who do use it, I hope you’ll learn some new things.
Getting To Gmail Settings
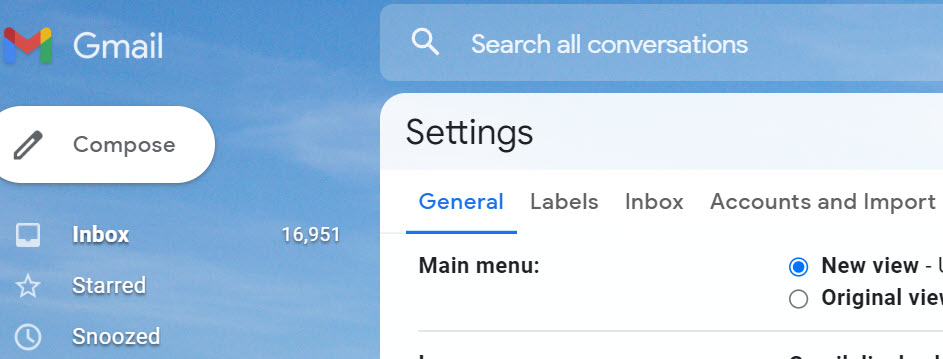
As I explained in Part 1, the first thing you need to know is how to get to the Gmail Settings. I’ll review the process here in case you’ve forgotten or haven’t read the original post. (You should click above on the post name and read it before you continue here.)
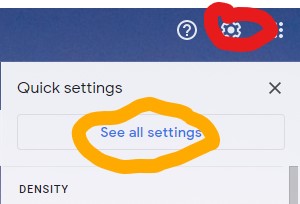
When you open Gmail, click on the Settings icon in the upper right-hand corner. (Circled in red below.)

Next, choose More Settings. (Circled in yellow below.)
Usually, Gmail Settings will open on the General tab. That’s where we’re going to continue today. In Part 1, we left off at UNDO SEND.

Default Reply Behavior
This setting is pretty easy to understand if you understand the word “default.” You may recall, in the computer world, if something is a default setting, it will perform a certain action unless you change the setting. This setting applies when you receive an email that was originally sent to more people than yourself. With this option, you can have Gmail always reply just to the sender or you can have it reply to everyone.
You might notice that in my own personal settings, I haven’t chosen either of these options. In doing so, I’m left with the decision instead of having Gmail make it for me.
Hover Actions
With this option, I can gain access to four actions for an email without actually opening it. Those choices are Archive, Delete, Mark As Read, and Snooze. Here’s an example of what that looks like (click for a larger view.)

If you don’t like those options (outlined in red in the screen capture above) appearing on your screen, you may choose the “disable hover actions.”
Send and Archive
If you like to keep a neat and clean Inbox, you might want to select “Show Send & Archive button in reply.” If you do, you’ll have the option to automatically archive an email when you reply to an email. (Archive is a strange creature in Gmail and I’ll be covering that in a YouTube video in the upcoming weeks. I’ll let you know when it’s available.) Basically, though, if you choose this option, you’ll see these buttons when replying to someone:
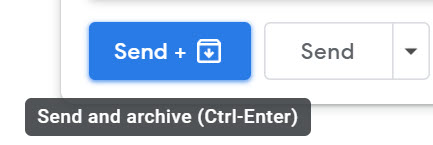
Now you have the option to just send your reply (using the button on the right) or you can archive the original email at the same time you send it (using the button on the left). You might note that if the person replies to your reply, that email will still show up in the Inbox.
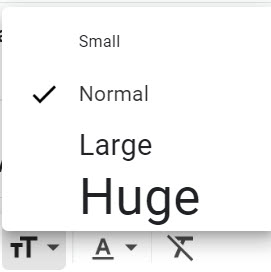
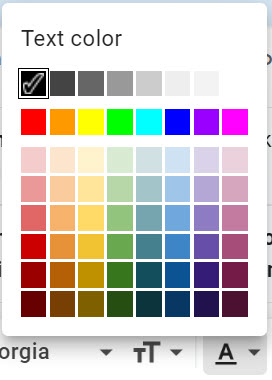
Default text style
Again, we come across the word “default.” Here you can set the default font, font size, and font color for your emails. There are three drop-down menus for each of these options.
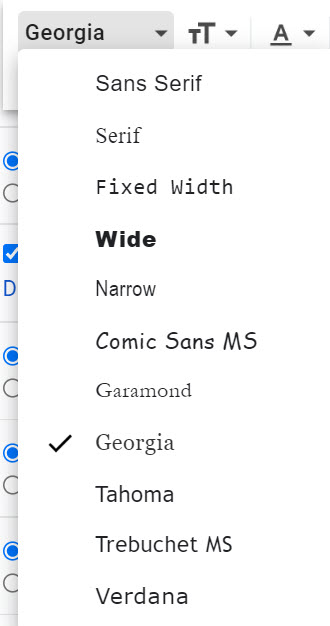
If you click on the icon on the right side of the toolbar, you will reset your font-related settings to Gmail’s default options. In the following picture, I’ve put a red box around the icon and you can see my font went back to Gmail’s original Sans Serif.

Watch For Part 3
Part 3 of Gmail Settings will be coming next week.